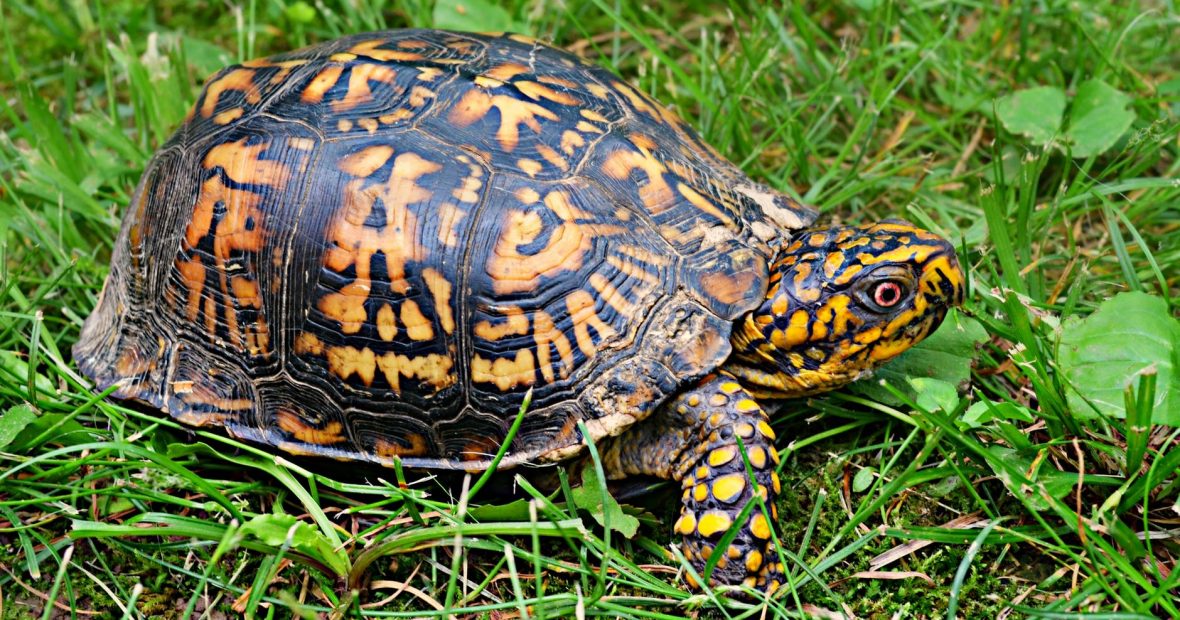

If you’re looking for a fun, easy activity to do with friends or children or teens that can be done safely distanced outdoors, try making your own turtle crossing signs. The best time to do this is in the spring, so that the signs can go up during the spring and summer, when turtles are most active. By late autumn, turtles are hibernating and it’s best if signs are taken down before it snows so that you can reuse them every year.

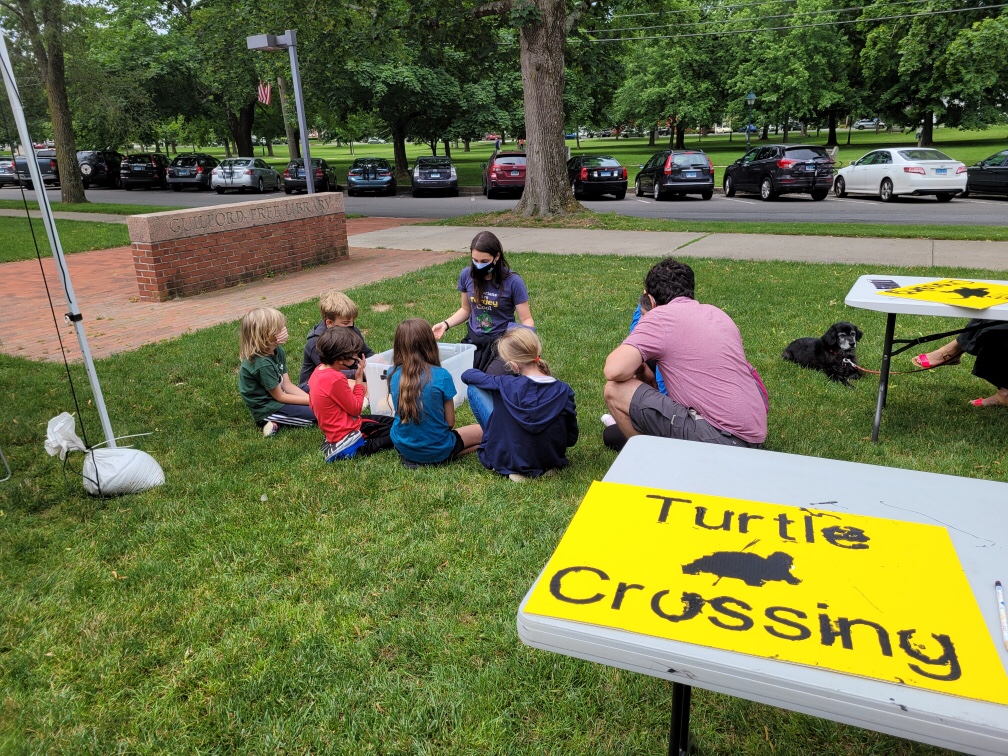
If you’d like to skip all the prep work and have me show up at your scout troop meeting or homeschool pod or classroom or anywhere else (in Connecticut), and possibly bring some turtles with me to learn about while waiting for paint to dry, I can do so for a fee (all of which gets used to help buy medicines and supplies for the turtles). Contact me if you’re interested in this first option. If you’re more of a DIY type, read on.

Step 1: Obtain plastic lawn signs. Get these for free by asking on social media or calling up a local politician’s campaign office to see if they have extras. Don’t buy them, because part of the point of this activity is to teach Reduce, Reuse, Recycle.
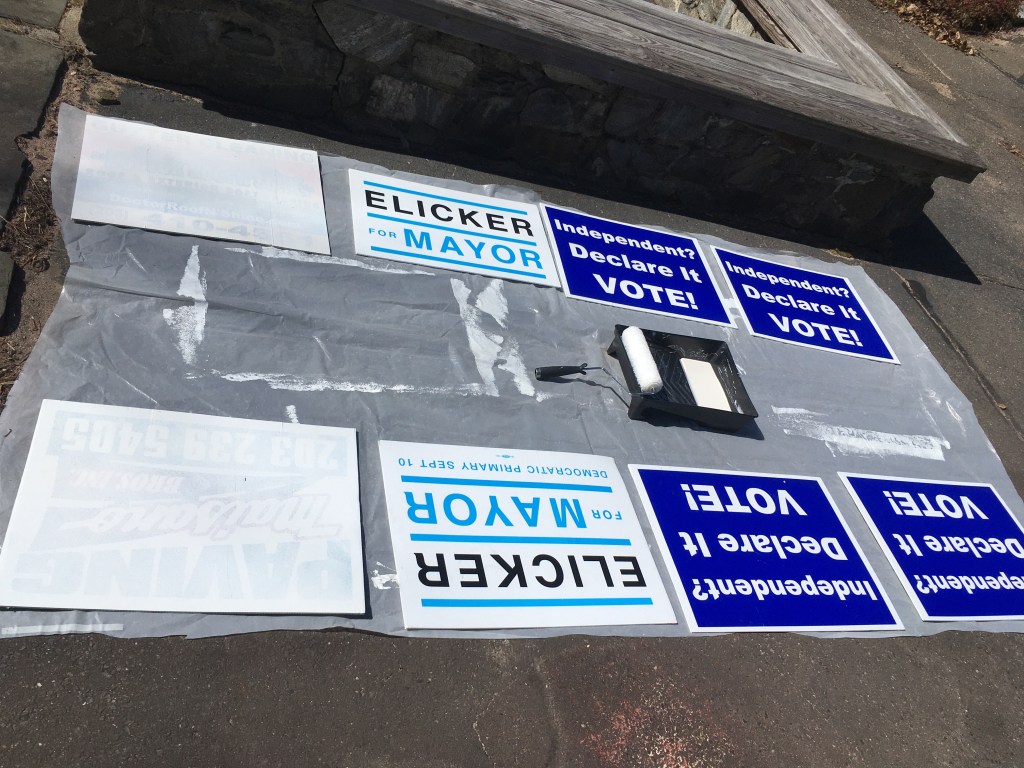
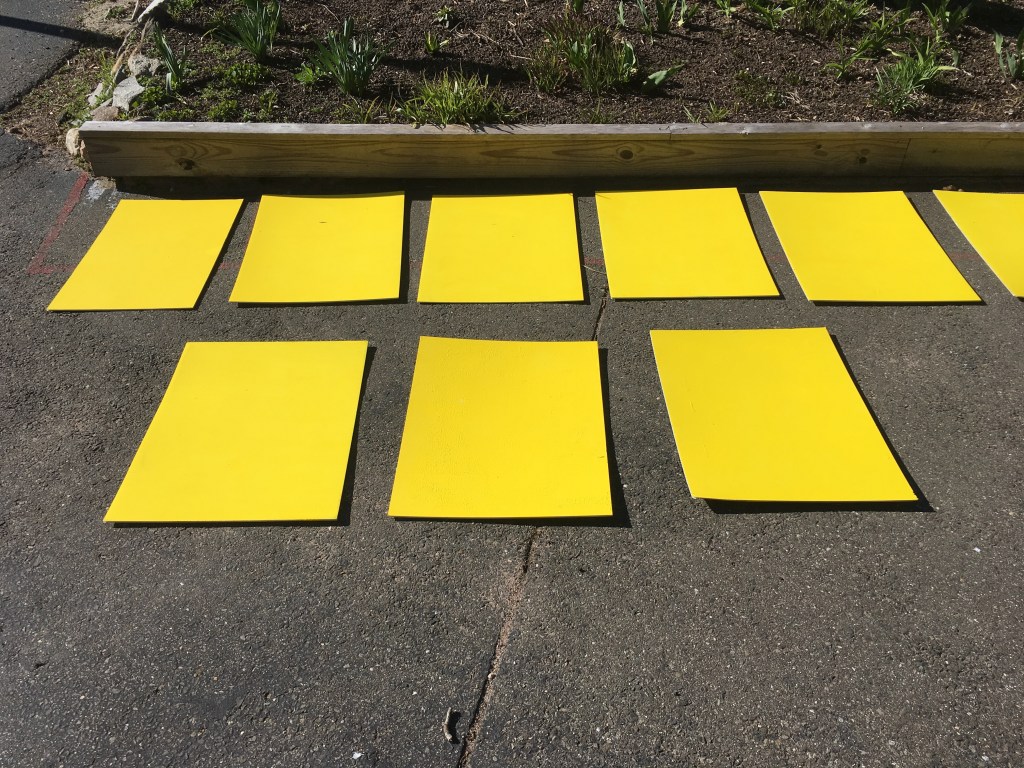
Step 2: Obtain paint, tray(s), brush(es) and roller(s). I have found that any outdoor paint sticks pretty well to plastic lawn signs. A pint got me through 8 one-sided signs. It may be worthwhile to ask a local hardware or paint store if they have any leftovers/customer returns they aren’t using, or, again, ask your local “buy nothing” facebook group, NextDoor app neighbors, or whatever other social media you use. Most people have paint lying around that they don’t know what to do with. Choose a light color (anything in the white family is great) or bright yellow like a road sign for your base/background and black for lettering. You can also use spray paint for the background if you have access to some that is free, but it isn’t worth it to buy for this project because it takes too many coats to completely cover the original sign. It is also messier. You can try indoor paint, but I have not personally tested it, and it seems logical that outdoor paint will stand up to weather better than indoor paint. These signs will be on the side of a road, after all.
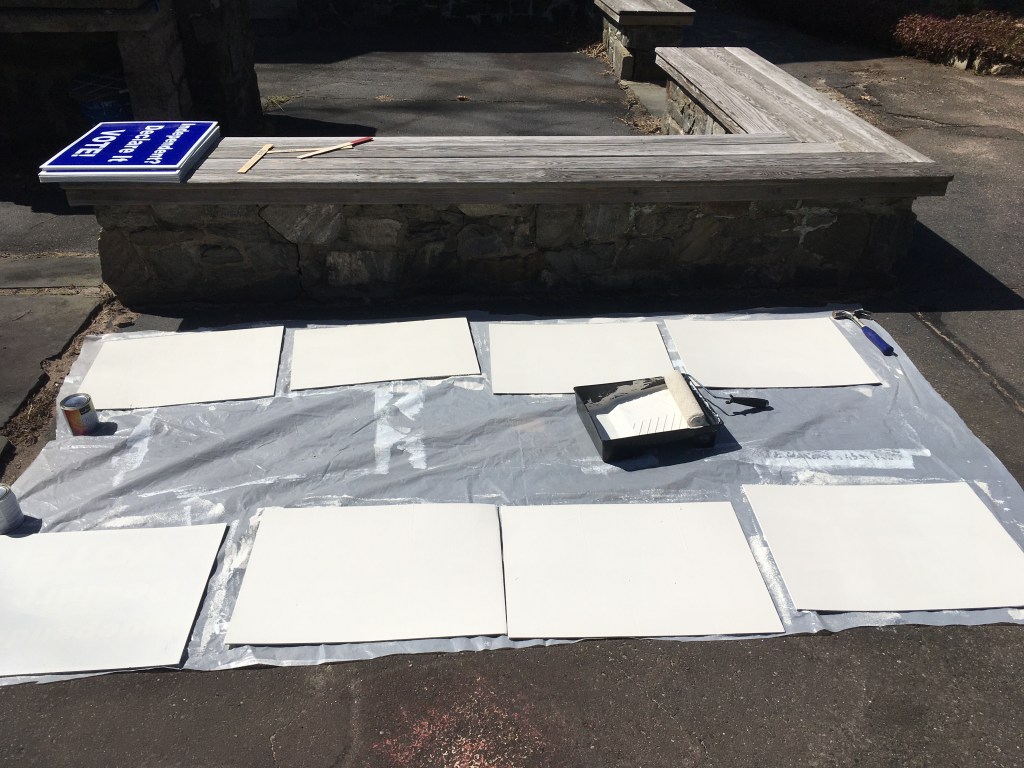
Step 3: Paint over sign with rollers to cover original message and create background. You will likely have to do two coats, but it doesn’t take that long for rolled paint to dry in the sun enough for a second coat. Consider painting both sides of your sign for more effectiveness. It may be helpful to put down a plastic drop cloth if you have one, or an old sheet you don’t care about painting, to keep grass/dirt from sticking to your signs and to keep your yard/driveway/deck from getting paint on it. It is best to do this activity on a day with no wind and no rain in the forecast.
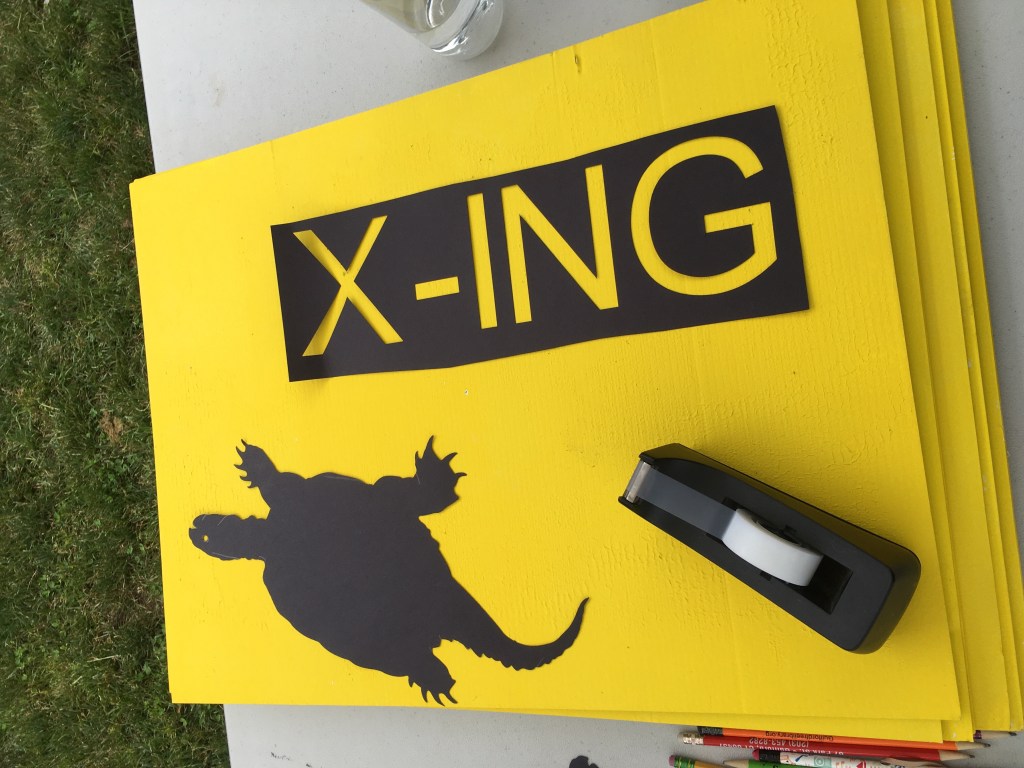
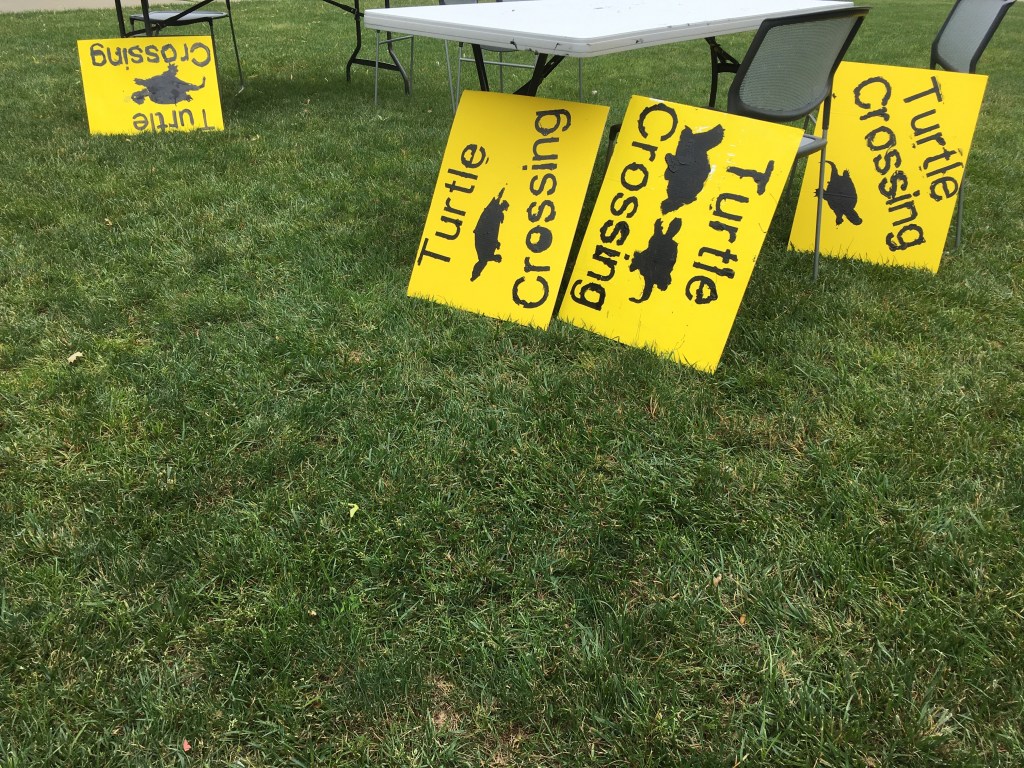
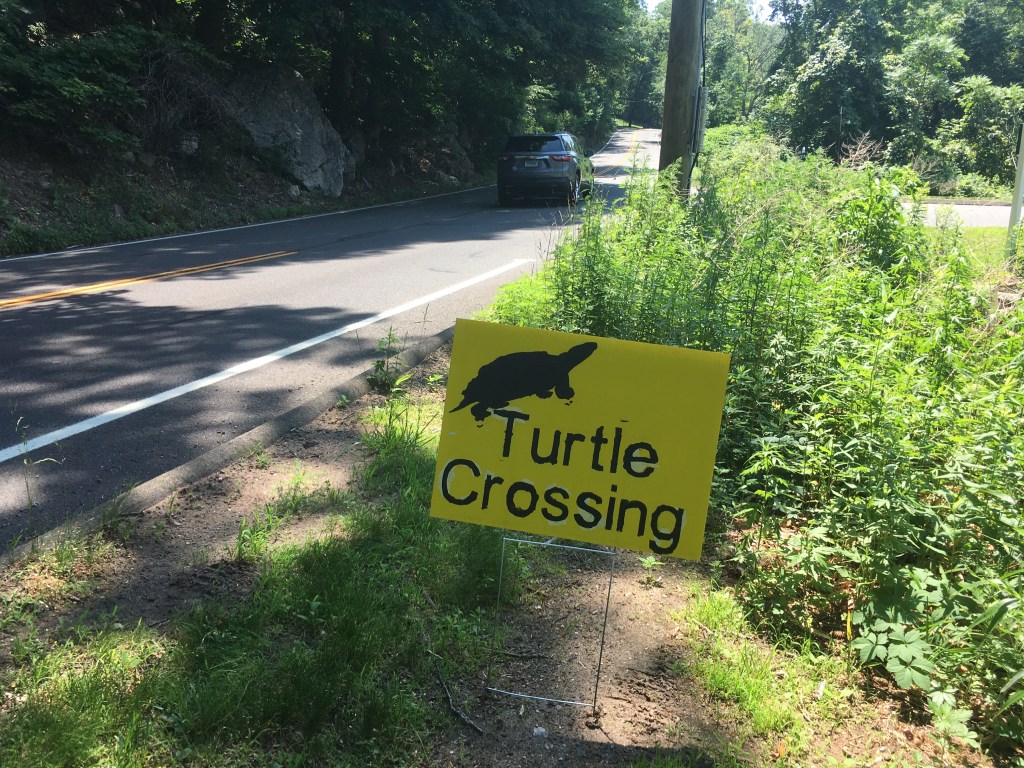
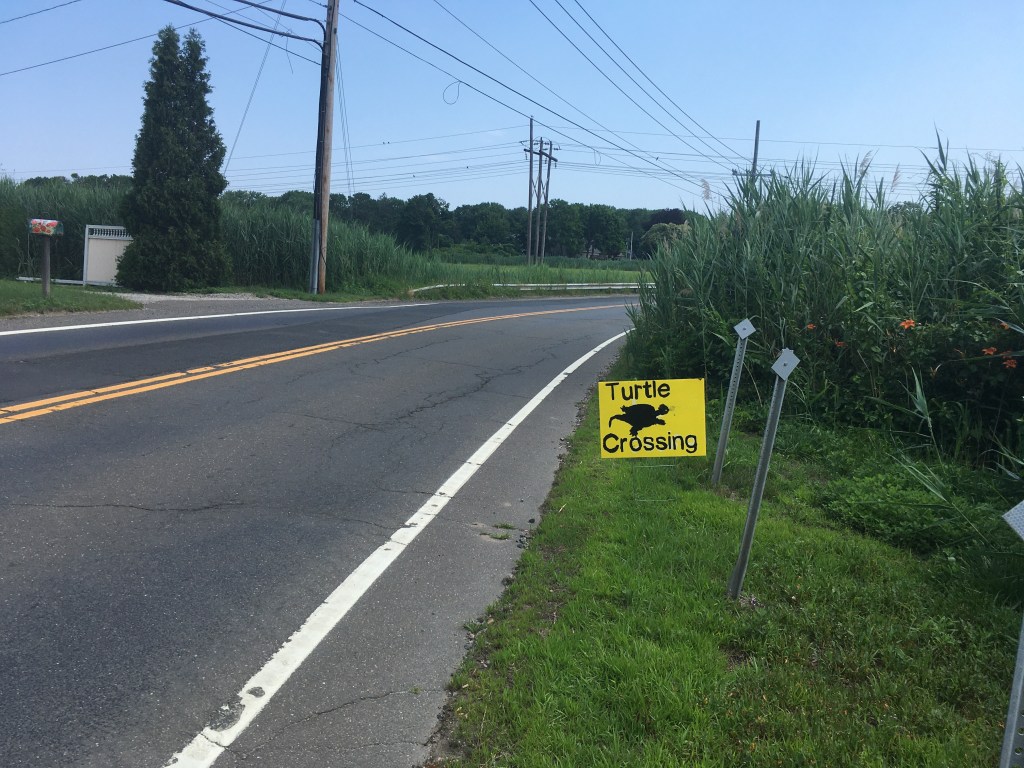
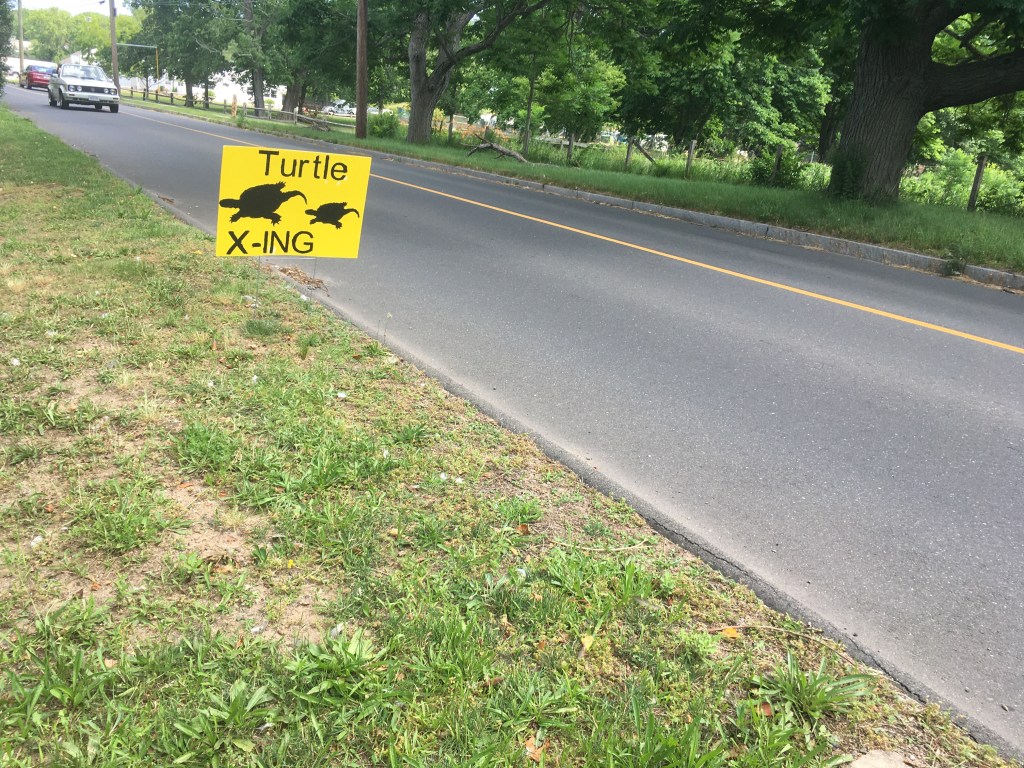
Step 4: Plan your design. Big letters, few words, easy to read font, and simple turtle silhouette are best. TURTLE CROSSING or TURTLE X-ING are good bets, either with a turtle in between the words stacked vertically one to a line, or above/below the text. Picture next to text means the text has to be smaller and is therefore harder for people to read quickly enough while driving to process and react. SLOW DOWN TURTLE X-ING is also a good choice. You can make your own stencils, or print and cut out then trace letters onto your sign with a pencil before painting them in, or measure your sign, draw guidelines on it, then draw letters on those lines, or you could freehand your design entirely. I don’t recommend this last option unless you are already experienced doing this, because that is how letters get squished and hard to read.
Step 5: Paint your message. Small brushes (sponge or bristles), about 1 inch wide, are a good choice for this. Save some of whatever the background color is, because you may need to touch up drippy letter edges.
Step 6: Place your sign on the side of a road where you have seen turtles cross before. If you are not sure where such a road is, reach out to a local turtle rehabber and explain your project and they will probably be able to tell you roads near you where turtles have been hit by cars before. You can also search out bodies of water on a map, visit them during spring/summer, and if you see turtles there, place your signs on the roads around that water body. Make a note of where you are putting your signs, because you will have to go back in the late autumn to take the signs down.

A note on legality: Most political/yard signs are small enough that you don’t need a permit to put them up on the side of a road that is not a state highway. I’m sure you see all sorts of signs on roads all the time, advertising roofing or landscaping services or political candidates, etc. Nobody’s filling out paperwork for these. If you are putting them up in someone’s yard, it is best to ask them first. Most people won’t bother a goodwill informative sign like a homemade Turtle Crossing sign, but if you are truly concerned, you should contact your town’s permitting office or roads office and explain what you’re trying to do, and eventually they should be able to get you to someone who can tell you if you need a permit or not. If your experience is anything like mine, you’ll get the runaround and after talking to at least 5 different people who have no idea what box to put your project in, you’ll give up and assume there’s no issue with putting signs up because you can’t find any regulations against it nor forms to fill out specifically for it, and then you’ll just put them up anyway and hope for the best.

Thank you for sharing!
LikeLike