
Over the past few weeks I’ve had the opportunity to go through the intake process completely with my mentor. It’ll take a while before I have everything down without second-guessing or asking questions, but I think I have the gist of it. I’m just going to go ahead and tell you not to try this at home.
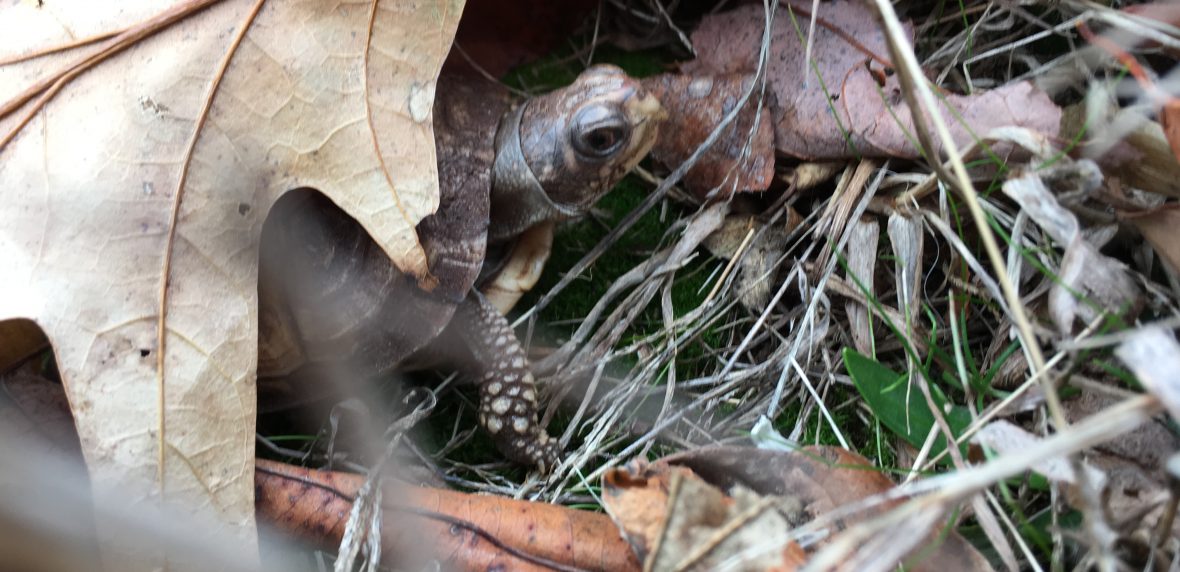
If you, personally, find an injured turtle, call a rehabber right away and get it into a clean, dry, cool, fly-proof container (rubbermaid bins, cardboard boxes, or pet carriers with an old sheet or towel over it are great). DO NOT TRY TO FEED IT (or give it water). Most turtles need to be underwater to swallow anyway, and they are likely in shock and can’t process food even if they were starving. If you try to force a turtle to drink, you may drown it by accidentally getting water in its lungs while it is in an already distressed state.
Additionally, a rehabber will need your name, phone number, address, email, and location of the distressed animal before they can begin to help you. Rehabbers are required to collect this information first in case, for safety reasons, they need to follow up with whoever found the animal or the call gets disconnected. They cannot proceed to help you without this information first. It may seem tedious and unnecessary, but calmly providing this information when you call a rehabber will get the animal help a lot faster. Once it has been determined that the animal needs help and where it needs to go, please consider driving it there yourself. Rehabbers are often too busy trying to save the life of an animal in their hands when they get calls for help, and they can’t rush off to get a new patient right away while they’re treating existing ones. Delaying transport to a rehabber because you don’t have the time to drive it there can mean death for the animal. Also consider tipping your rehabber. Rehabbers do this job out of the kindness of their hearts and are not reimbursed whatsoever for their time, supplies, equipment, or vet bills.
Once a turtle arrives, here are the steps I would take:
Step 1: ABCDE
A ~ Airway
B ~ Breathing
C ~ Consciousness
D ~ Document
E ~ Examine
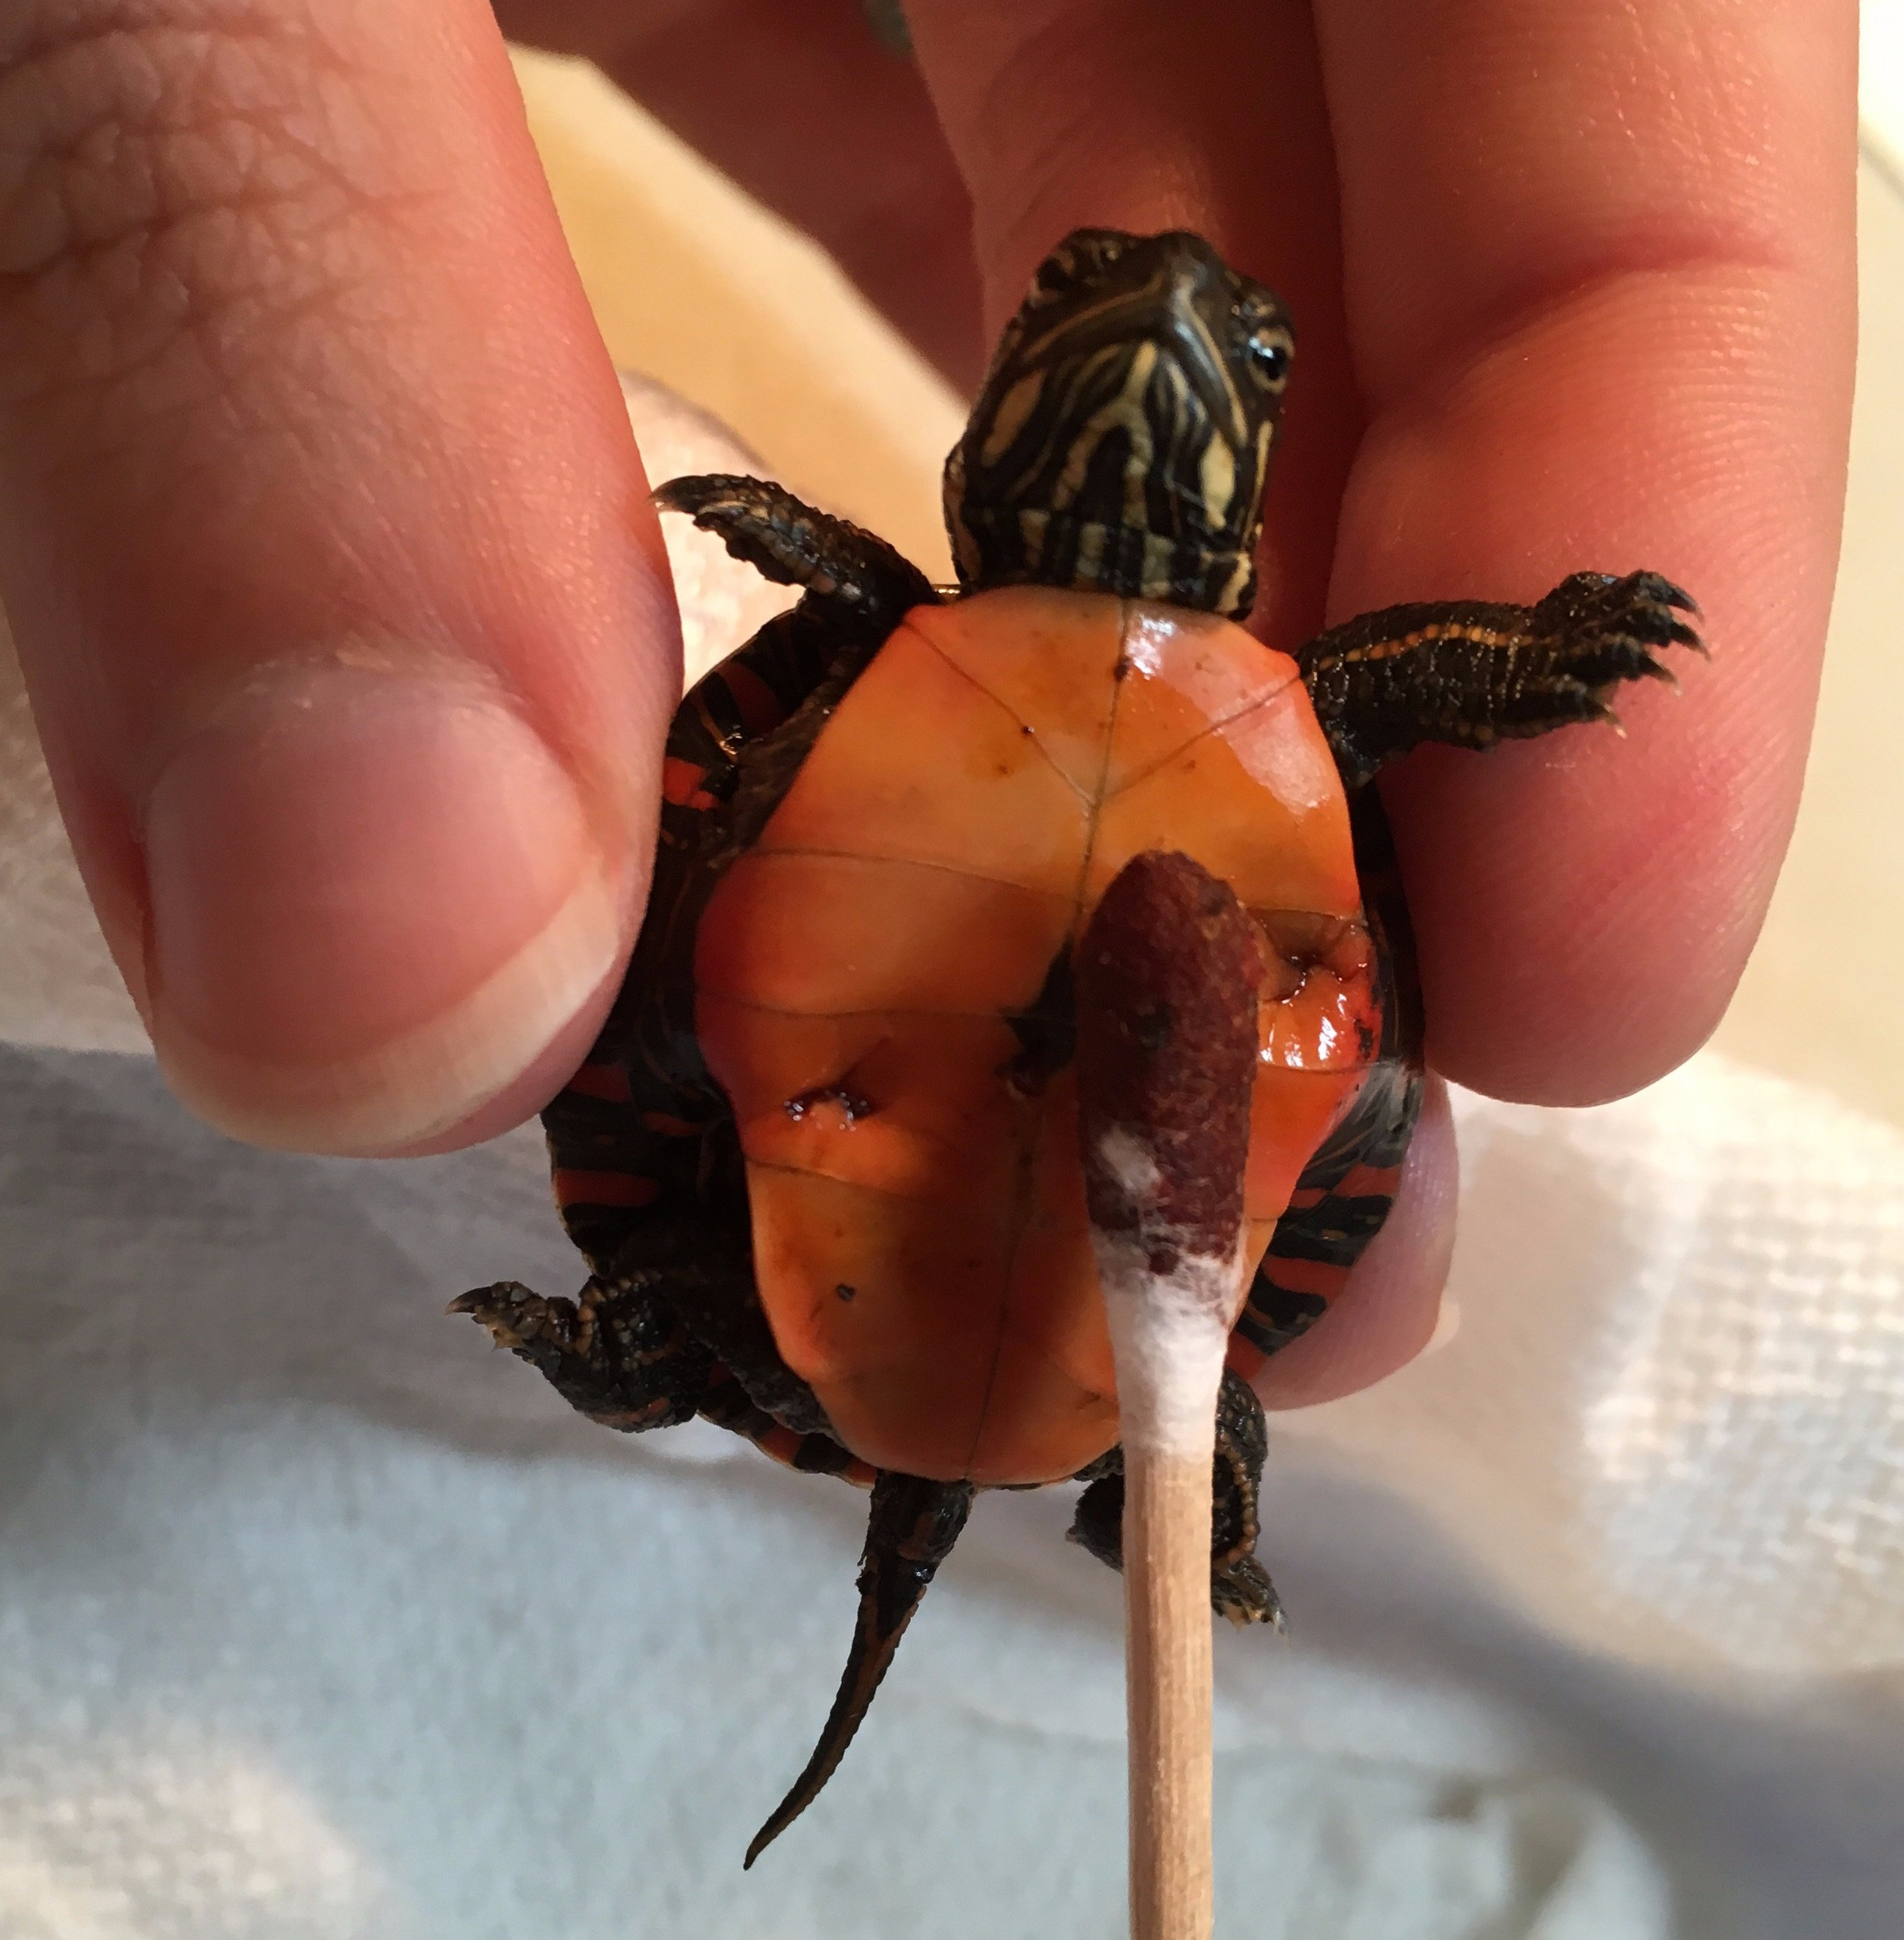
Step 2: Clean injuries of debris and maggots.
Step 3: Sterilize injuries by flushing with saline/betadine mixture or sterile saline alone if head injuries.
Step 4: Calculate and administer fluids. Calculate and administer antibiotics at this stage if an animal bite.
Step 5: Debride edges of injuries and excise extraneous shards if necessary.
Step 6: Put shell back together.
Step 7: Cover in SSD. Wrap in vet wrap if necessary.
Step 8: Put in clean, fly proof container in cool, dry area for a couple days to a week.
Step 9: Calculate and administer antibiotics after 24 hours if non-animal-related injury.
Step 10: Hand-water twice a day and administer antibiotics every three days until turtle is water-tight. Move to area with heat and hiding place after it is stable and not in danger of bleeding out, getting dehydrated, or getting maggots.
Step 11: Once water-tight, place in larger container with sphagnum substrate, water dish, hiding area, and heat lamp/UVB lamp.
Step 12: Once fully healed, release it back to where it was found or as close as is safe for the turtle and you.
Step 13: Clean and sanitize everything so that the next patient can use it.
IF THE TURTLE DIES, perform an autopsy if you want to know why and it isn’t obvious, then properly dispose of the body.
Each one of these steps could, and will (hopefully eventually), be its own post. I’m just going to warn you now that a lot of the pictures in those posts will be graphic. I am treating injured animals, after all.
